The Labyrinth is an underground dungeon with multiple areas James must complete to try and save his wife in Silent Hill 2 Remake. Much like the haunted mind of James himself, the Labyrinth is a maze of nightmares threatening to drive away any semblance of sanity. The confusing nature of each route in the Labyrinth’s depths makes it tricky to navigate for even veterans of the original Silent Hill 2.
To reach the new endings of Silent Hill 2 Remake, you have to travel through three smaller Labyrinths inside the larger one James finds himself in. Each one has its own puzzles and enemies you have to face, turning each into a trial that tests you in various ways. However, you can find resources scattered around every Labyrinth to make your descent through each less challenging.
This guide is for the Standard difficulty settings. Other difficulty settings may result in other solutions to complete each Labyrinth, including variations in puzzles and much harder enemies to beat.
Rediscovering Maria
Enter The Mind’s First Maze
The challenges of the Labyrinth begin once you rediscover Maria, a character changed somewhat in Silent Hill 2 Remake. After you defeat the Abstract Daddy boss, you can start heading for the Silent Hill Historical Society building and Toluca Prison deep below. One of the items you get from the boss is a map of a place called the Central Labyrinth, which is supposedly under this area through many twisting paths.
Related
Silent Hill 2 Remake Review: A Surprisingly Fresh Take On A Survival Horror Classic
Bloober Team assuages fears with the Silent Hill 2 remake, a pitch-perfect adaptation of the original with lots to offer both fans and first-timers.
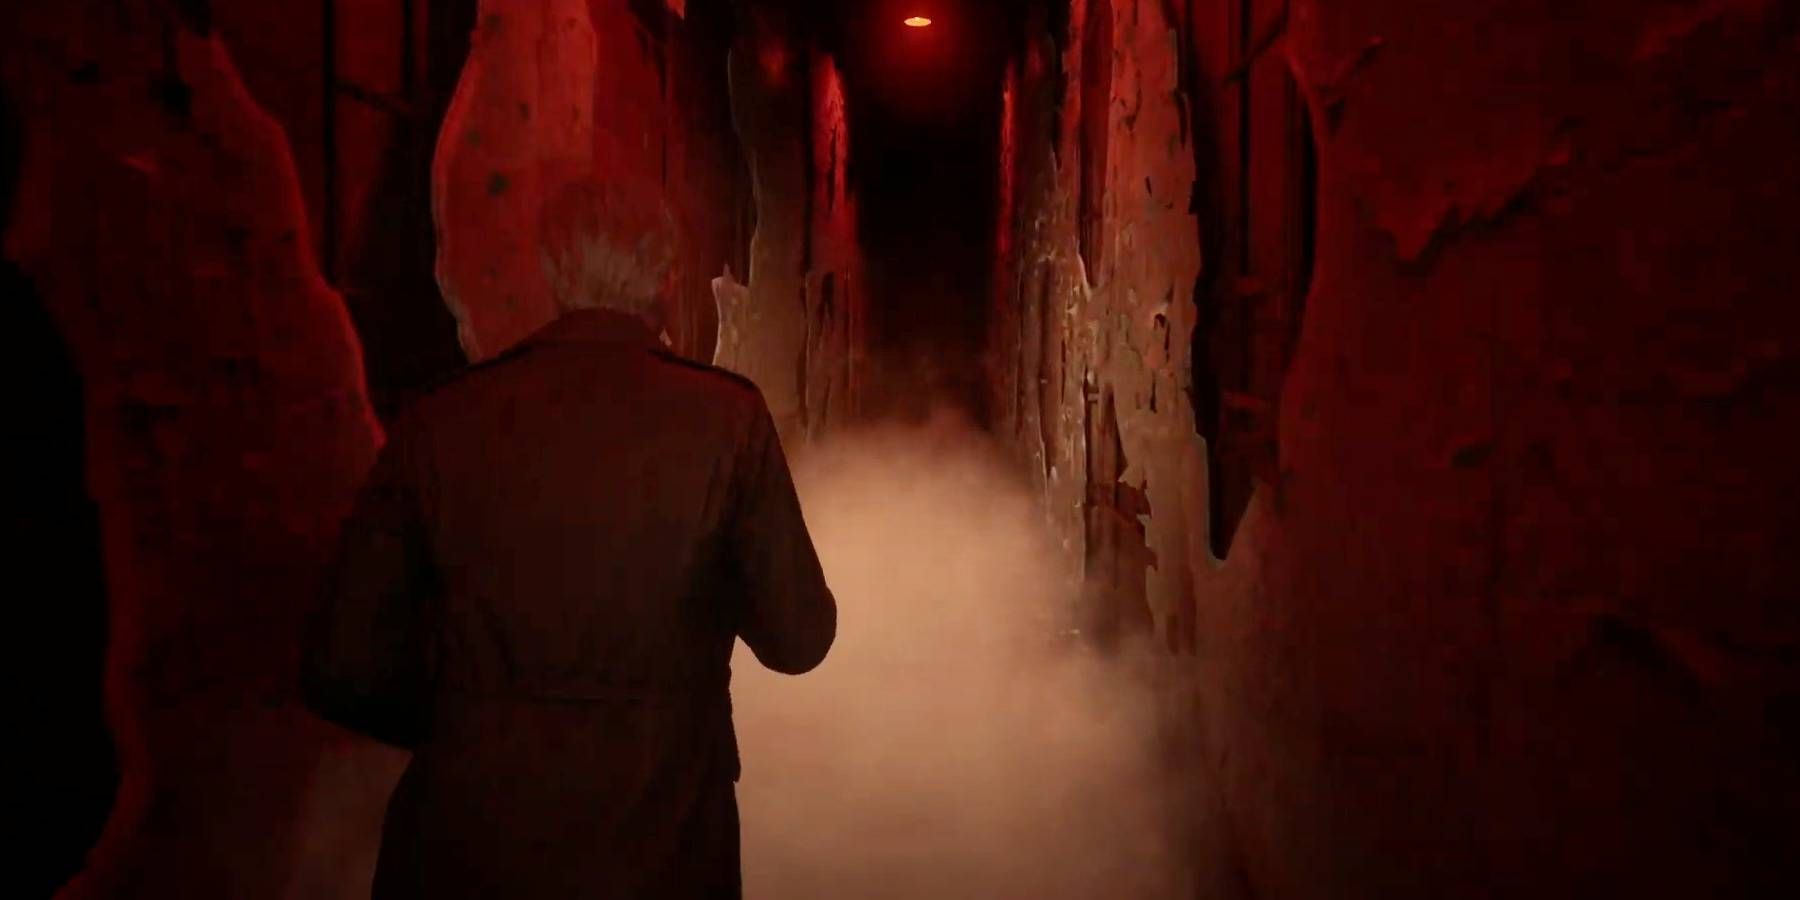
The map is drawn as you move forward, so you can’t rely on it to find what you’re looking for at first. As you descend, you’ll find a red save point near a hallway filled with arms that makes James afraid if you approach them. Go away from the arms until you see a large chasm, with a door directly opposite it that you, unfortunately, won’t be able to open right now.
Continuing forward will see you go down another set of stairs and reach a jail cell holding a now-alive Maria. Despite her seeming demise at the hands of Pyramid Head, Maria looks unharmed but stuck in the jail she’s found herself in. It’s up to James to explore the eerie dungeons around the Labyrinth, made all the more terrifying with the enhanced settings of Silent Hill 2 Remake.
How To Align The Cube
Rearrange Several Faces
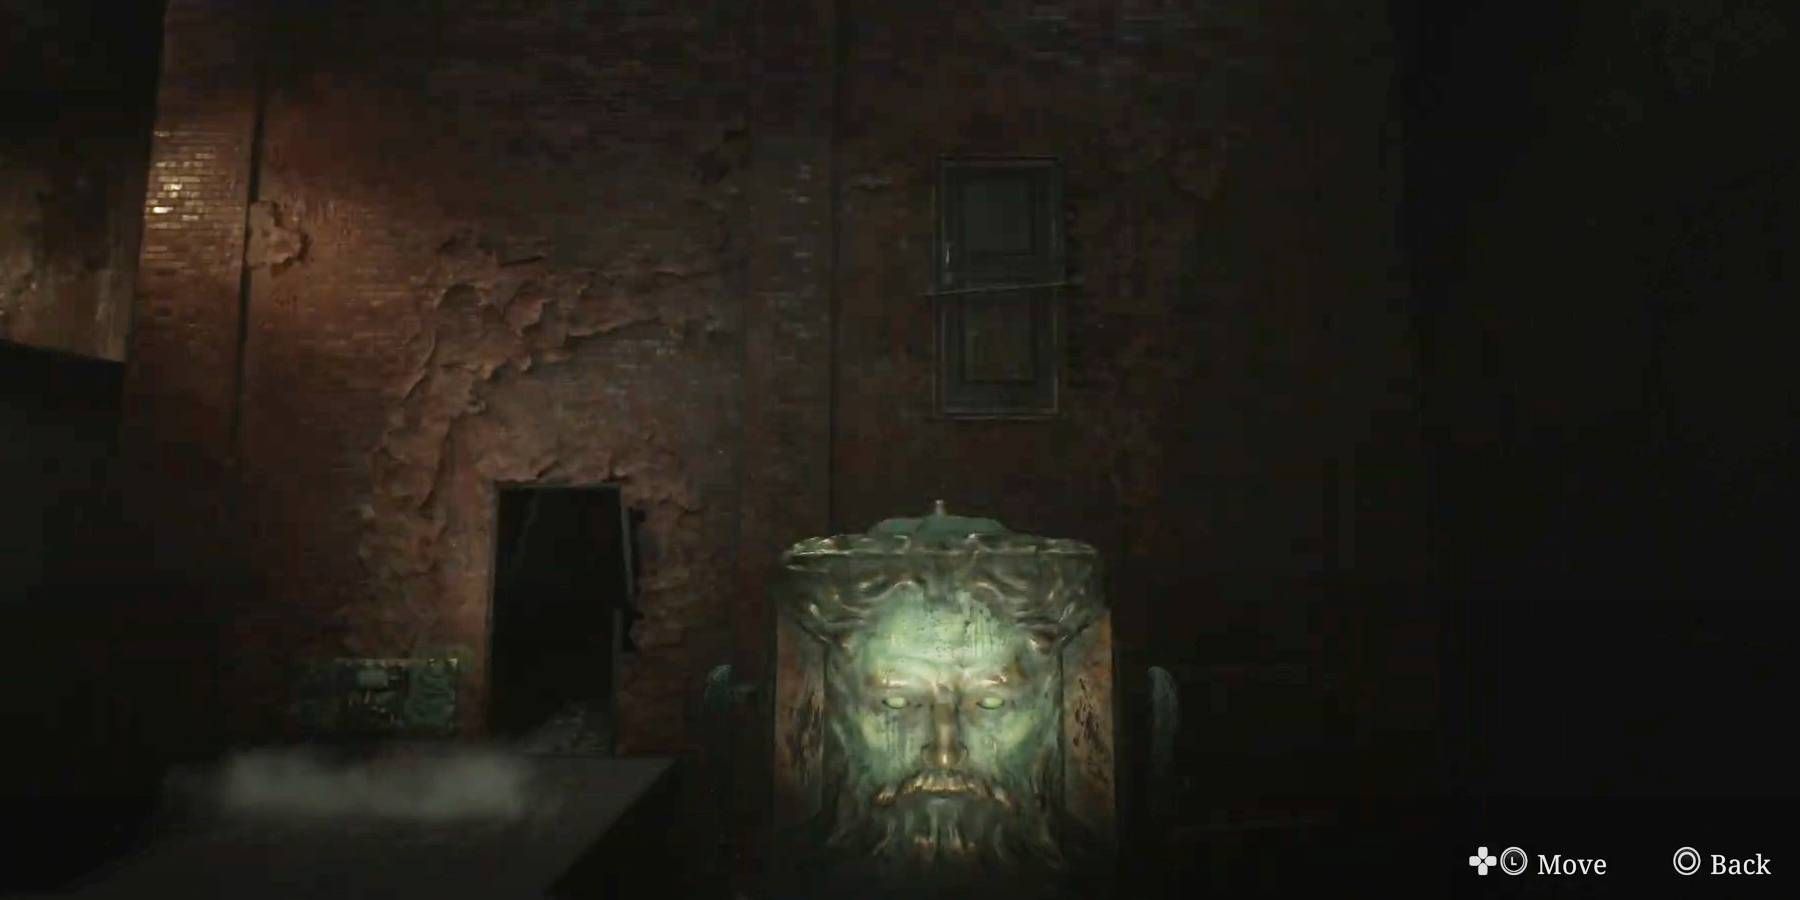
After the cutscene where you encounter Maria again, head back up into the main hall to discover a huge cube now occupying the chasm. Near it is a cloth covering an object on a pedestal; uncovering the sheet reveals a smaller cube. This cube rotates the larger one, allowing you to open up paths to the smaller Labyrinths James must explore to free Maria.
Before you attempt to unlock the main path forward, try different combinations of the cube rotations to reveal smaller hallways and hidden alcoves. These areas can give you small items to help with your dungeon delving, including ammo and healing drinks. Discover everything you can before you commit to any one path where danger could be around every corner.
Once you’re ready to continue into one of the main Labyrinths, you’ll need to arrange the face on the smaller cube to match a symbol on one of the walls above the chasm. You’ll see the first symbol you need to match on your left and up from the larger cube. However, for other Labyrinths, you’ll need to make new connections to other iconography that appears once you clear different areas.
Matching faces on the smaller cube with a Labyrinth’s symbol will create a bridge to the larger cube. Sometimes, you can still enter this space from dungeons you’ve already explored to see other walls above the chasm with the next symbol you need.
How To Complete The Rotten Labyrinth
Break The Locked Cage
As you can see in the above video by YouTube creator Trophygamers, the first of the three Labyrinths you explore is The Rotten Labyrinth. You can get to this place by arranging the cube so that the face shows the symbol with a triangle attached to an upside-down cross. The cube’s face will be upright and staring directly at James.
Once you enter the larger cube, you will see some doors, but they are locked. Head down the stairs to enter the Rotten Labyrinth, which will be extremely dark and filled with enemies. Deadly creatures you may have met in the South Vale are underneath metal vents here, waiting to attack. Simply run through this area without fighting anyone to get to your objective quickly.
Your goal here is to try and reach the center of the Labyrinth, where you will find a steel cage and a save point waiting for you. You want to collapse the hanging cage to progress, but this can only be done when you gain three important items for the task. These include:
- Lighter Gas
- Broken Lighter
- Lighter Wick
Each of these items is scattered around the twisting and large Labyrinth, making them fairly difficult to find. Don’t forget to use Silent Hill 2 Remake‘s gameplay mechanic to save your progress before diving deeper into the Labyrinth on your hunt for each item. Here are the locations where you’ll find everything you need:
|
Item |
Where To Find |
|---|---|
|
Lighter Gas |
Go through the eastern door of the Labyrinth’s center, then head south until you reach the end of a room. Take a left into a hallway leading to another room filled with Mannequin enemies. Jump from this area to a path north, which hosts a room with a creepy fridge you can open to discover the Lighter Gas inside. |
|
Lighter Wick |
Travel south from the central room again before entering a larger space. Take a left here and keep going forward, opening the door at the end of the first hallway and continuing in that direction. Enter a smaller room here to find the Lighter Wick in a hole in the wall James can reach into. |
|
Broken Lighter |
From the Lighter Wick, use the side door to enter a new hallway. Follow this path east and then south until you reach another room containing an item called the Iron Key. This will unlock the eastern door back in the central room. Go east from the room you’re in to get the Broken Lighter at the end of the hallway connecting back into the center room. |
Once you get every item, return to the central room and combine everything to make the Lighter. This can burn down the Collapsed Cage and cause it to drop and break the floor, creating a massive hole. Jump down this hole to complete the first of the Labyrinths you need to explore.
How To Complete The Desolate And Flooded Labyrinth
Wade Through Some Dangerous Waters
The second Labyrinth you can access can be found when you arrange the smaller cube above the chasm again. This time, arrange it so that the symbol resembles two infinity icons with a line going up from them that is pierced twice by horizontal lines. This will open a new bridge back to the larger cube, but this time you can access one of the previously locked doors to continue to the new dungeon.
If you are having trouble finding a way into this Labyrinth, it is down the stairs of the larger cube and straight down the middle of the hallway at the bottom, indicated by a red door.
Immediately as you enter here, you can find a red spot on the wall to save your game. While the iconic fog of Silent Hill 2 Remake isn’t present, the darkness will certainly be felt in this section of your journey. When you’re ready, start exploring the Desolate Labyrinth, which acts as a first floor of sorts to the Flood Labyrinth below.
Go to your right to find a hole in a wall past a path with a locked door. From here, watch out for enemies and scrounge around the furniture for some healing items and ammo. Eventually, you should come across a ladder leading down into the lower Labyrinth, an area with narrow corridors and water rising to James’ ankles.
Plenty of enemies are swimming around the water, so be careful as you explore each twisting path. Keep going until you find another ladder heading back to the upper Labyrinth, from the hole that made up a break in the floor across from your original save point here. Here, a gate must be opened, but only when you retrieve a Small Key from the Flooded Labyrinth.
Related
Silent Hill 2’s Main Characters Were Inspired By Real, Bloody History
Early Silent Hill 2 concepts were inspired by real-life elements from the infamous Jack the Ripper case, enriching the plot and psychological horror.
Head south past the door next to the top of the ladder into another series of hallways with a few enemies. Get past these foes here to find another ladder descending into the lower Labyrinth, where you’ll encounter more creatures to fend off. Reach an area with several cages and two locked doors to grab the Key from on top of a small cloth covering some of the metallic structures.
At this point, you’ll have to retrace your steps to get back up into the Desolate Labyrinth from the ladder you originally used to descend into the Flooded for the first time. Go back to the Handcuffed Gate by retracing your path, then use the Small Key to unlock it. The following paths from this spot are swarming with enemies, so make sure you have the ammo to deal with them.
In a later room down the corridor, you have to move a stove and climb on it through a hole in the wall to reach another room. This room has another ladder leading down, where you can find the way forward being blocked by some wires. You have to find Wirecutters to progress, but this item is blocked by an old adversary – Pyramid Head.
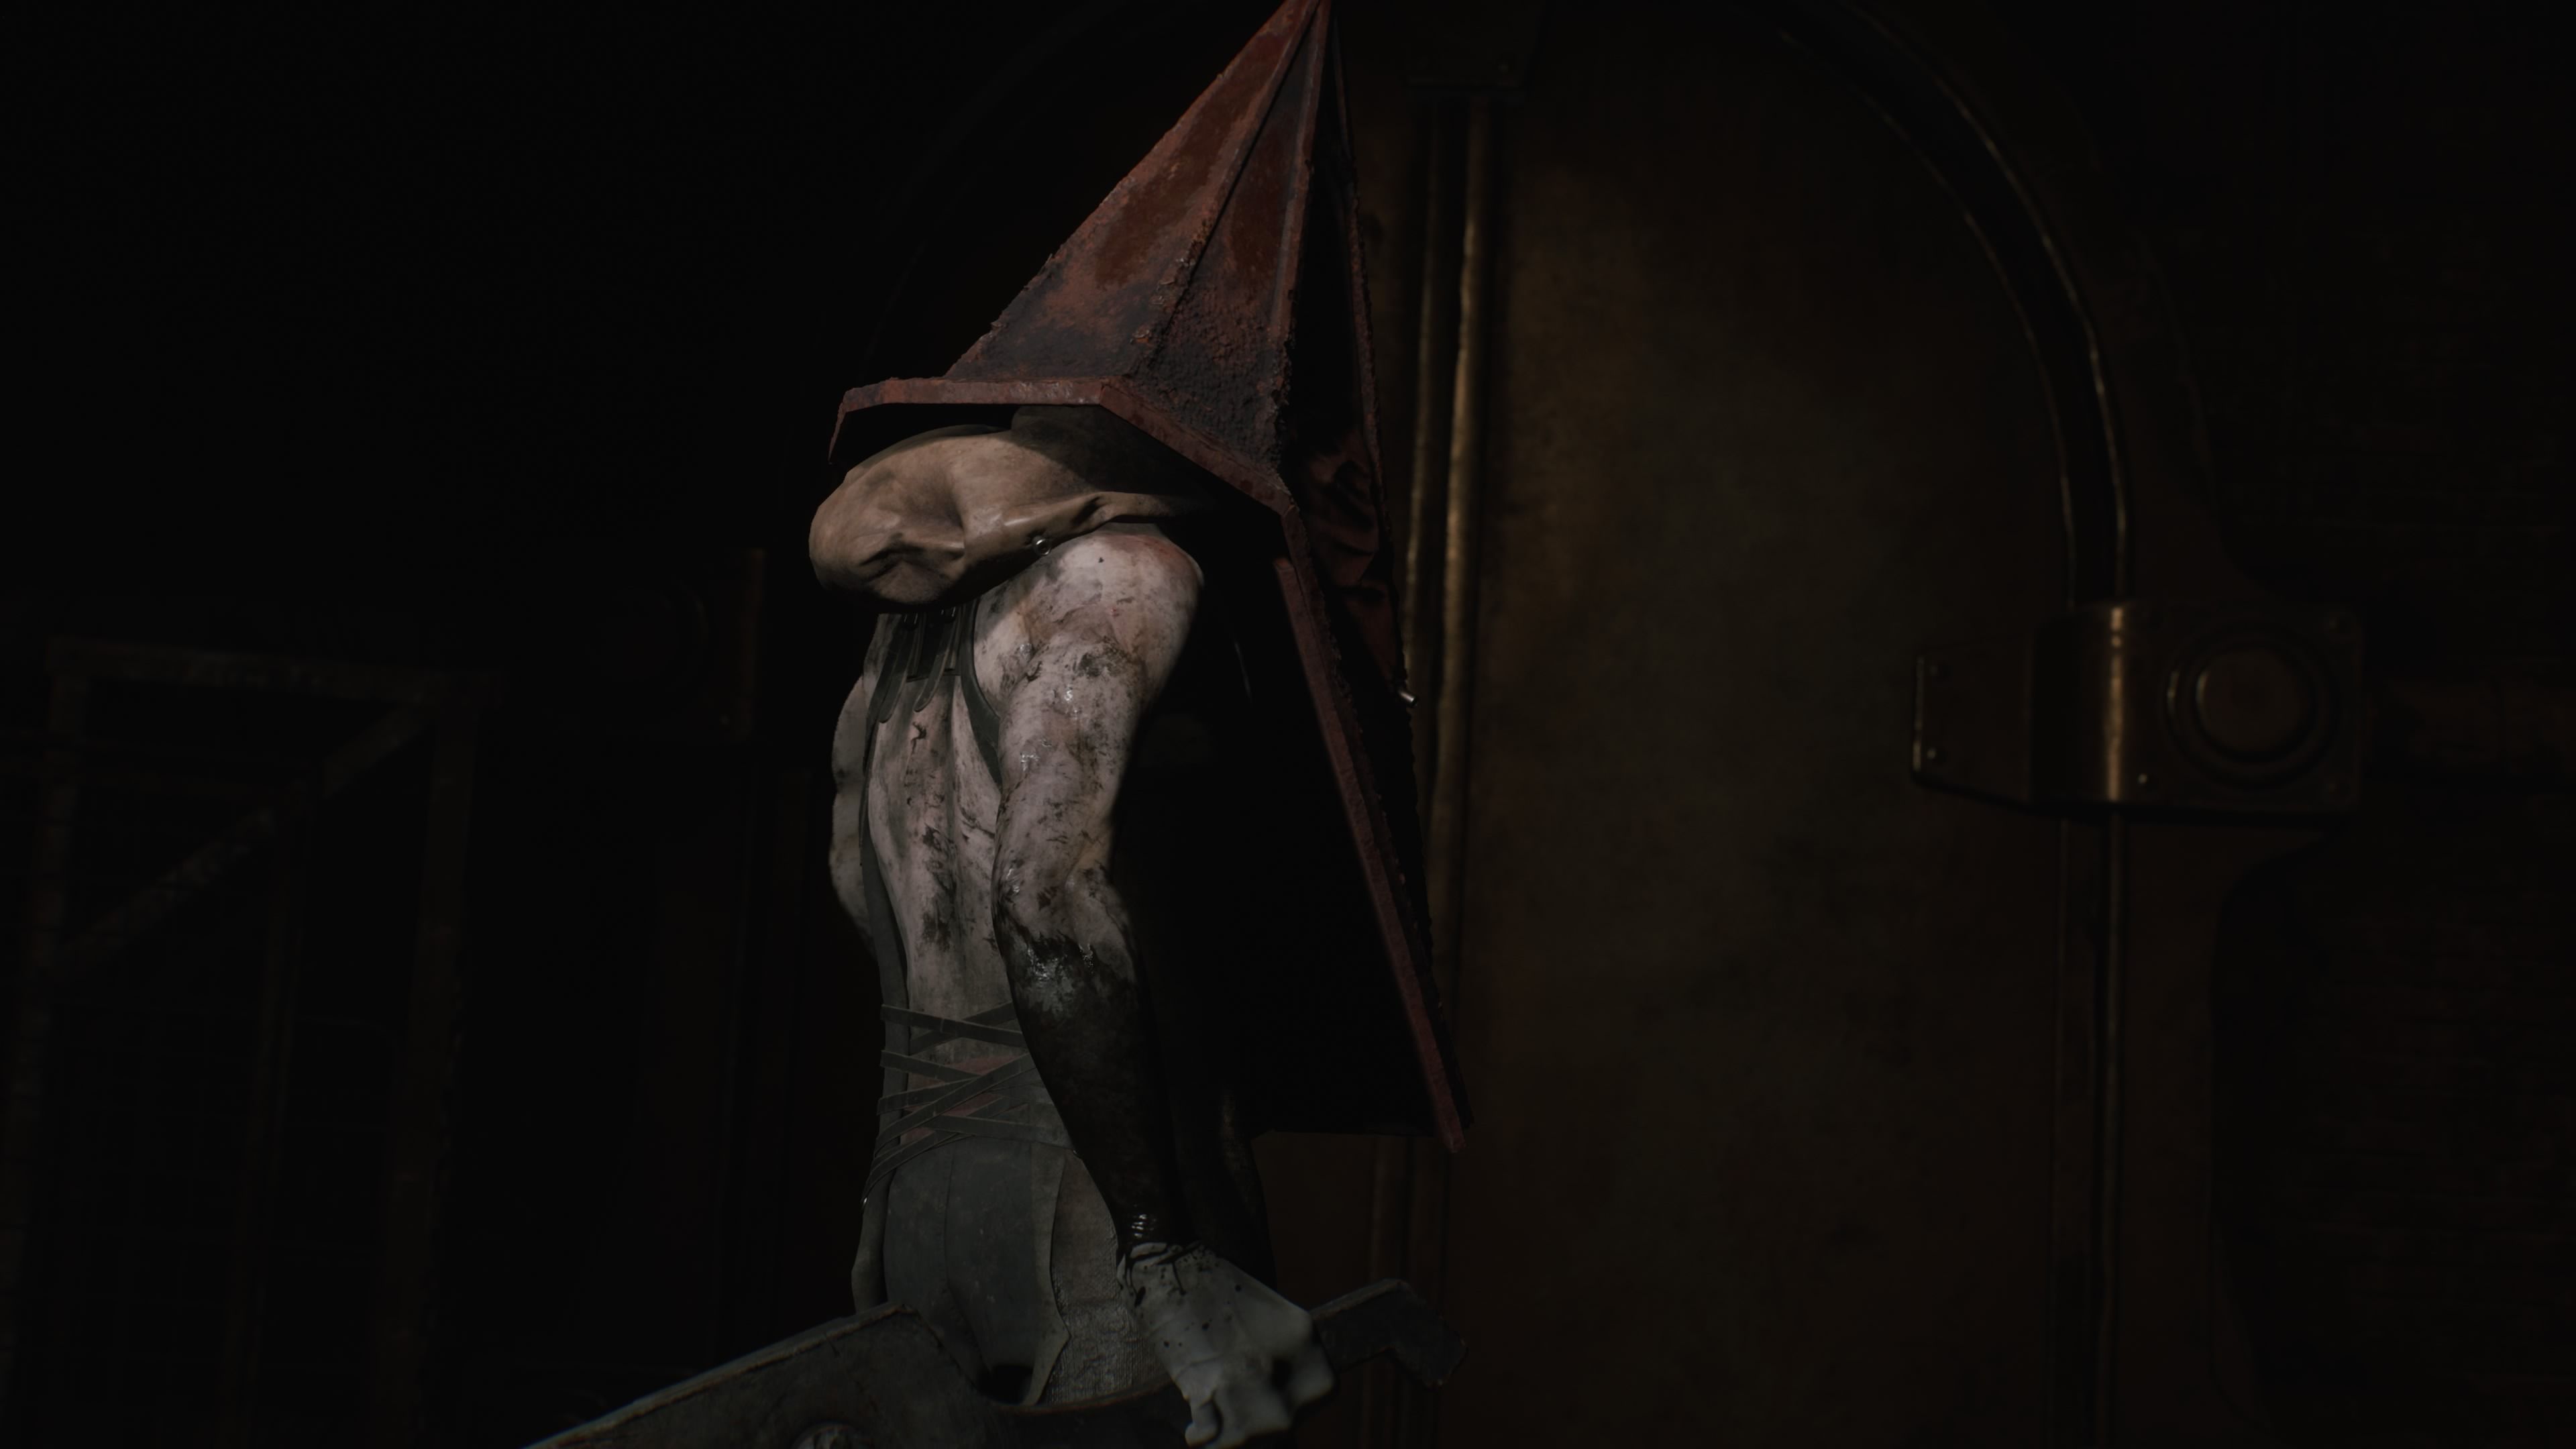
Turn right from the wires and go past the open path leading back into the Desolate Labyrinth. This area is crawling with bugs, with Pyramid Head beginning to hunt you as well. Go left and take a quick right to spot a ladder you can take up and away from the horrifying pursuer.
Take some time to rest and heal here, then go back down when Pyramid Head is roaming away from you to reach the creature’s Inner Sanctum. You need to break a cracked wall in here to open a path forward, where another ladder can take you out of danger. Defeat the enemies ahead in the hallways from that ladder to reach a sparking fuse box with the Wirecutters you need.
Related
I Played Silent Hill 2 Remake: There Was Worry Here. It’s Gone Now
Rather than just deliver the exact same game again, Bloober Team is reimagining Silent Hill 2 in a way that celebrates but doesn’t erase the original.
Go back through the Inner Sanctum into the Flood Labyrinth one last time to return to the wires previously blocking your path. Once you get past the wires, you can jump down a hole to complete the dungeon and open up the path to the last one remaining.
How To Complete The Ruined Labyrinth
Go Down One Last Path
Once again, you’ll find yourself back in the chasm with both cubes again before accessing the final Labyrinth. Manipulate the smaller cube so that its symbol resembles an inverse of the first Labyrinth. This icon will be an upside-down triangle with an upside-down cross coming out of its lowest point, a visual symbol for James’ declining mental state.
Go forward into the large cube once more, this time using the door on the right next to the path you took to reach the previous dungeon. This will cause you to enter the Ruined Labyrinth, which is the only dungeon without any puzzles to solve. You won’t need to collect any items, but you will need to fight back against plenty of enemies in this linear path.
Once you clear enemies in any Labyrinth, you can go back and search sections without foes to collect items. Any ammo or healing supplies you find will help you endure against enemies in the final dungeon, especially if you are playing on a higher difficulty.
You only have to pass through three rooms full of enemies and items to get to the end of this Labyrinth. You even have to face Pyramid Head again as you go through the path full of arms that once blocked James’ path. When you reach the end, you’ll be met with no familiar hole to jump through, but instead a path to Room 208, the place where Maria is trapped.
Returning To Maria
Discover What James Fears Most
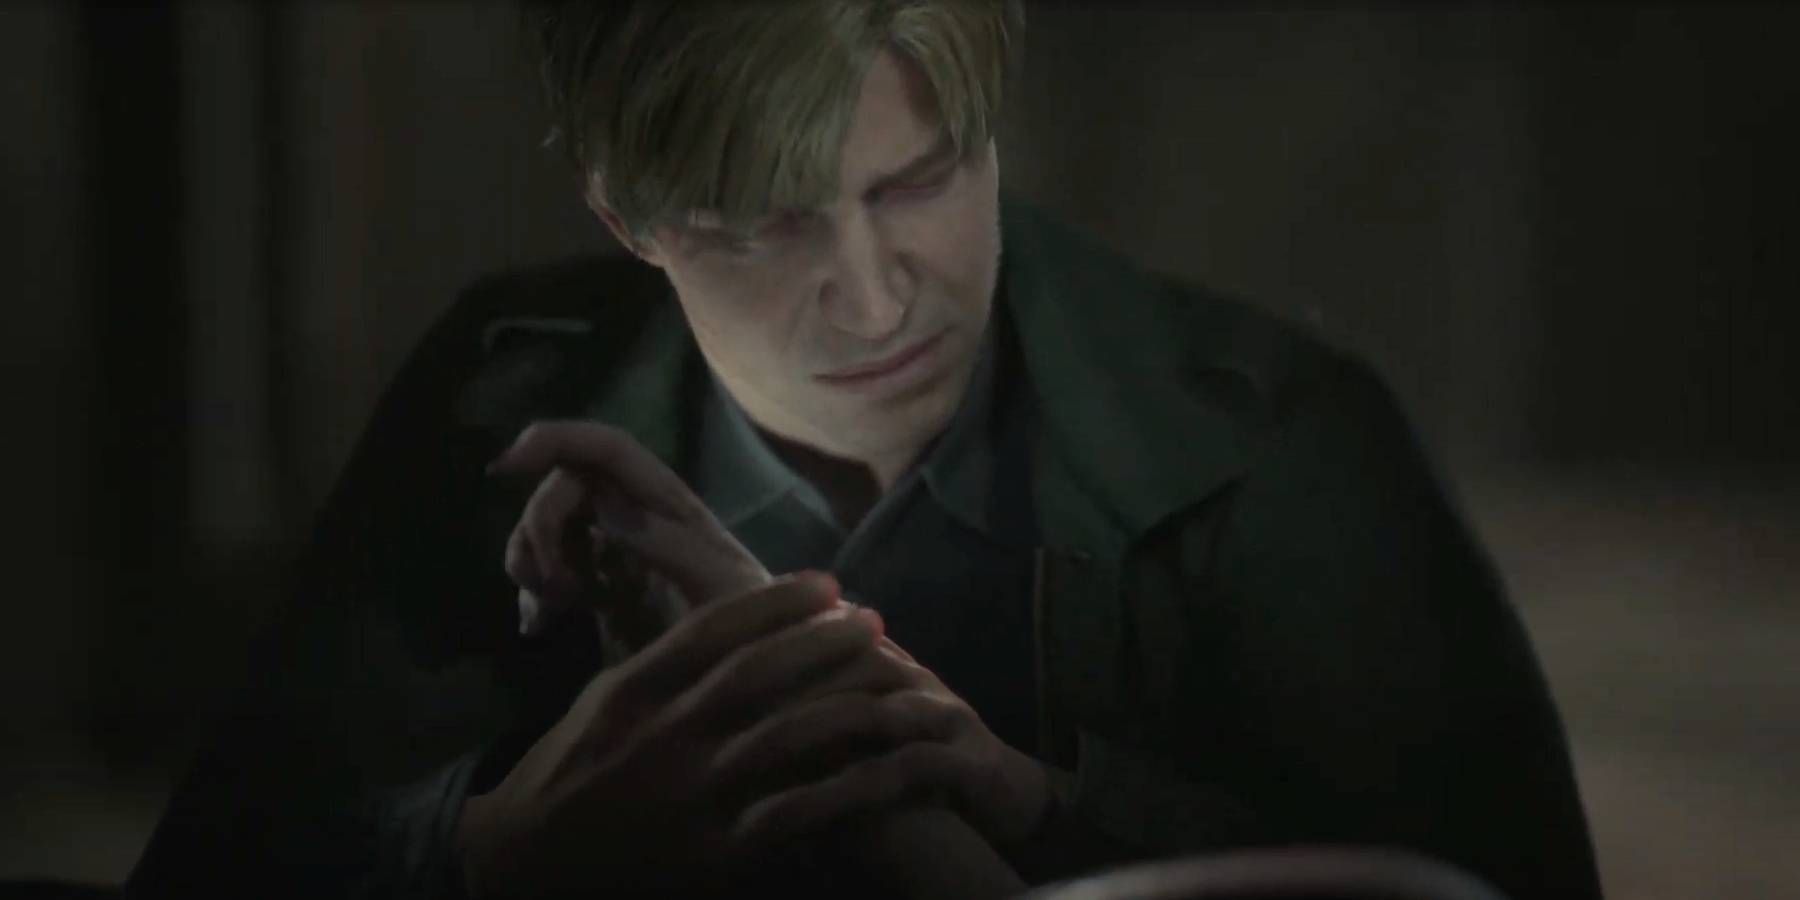
Going into Room 208 will let James reach Maria, but she is already dead. In the end, there was nothing you could have done to save her, despite your best efforts. Some sort of skin disease has killed her, leaving James mortified and struggling to process what he’s seen.
The cutscene that reveals Maria’s fate marks the end of the dungeons you have to travel between. However, managing to complete every Labyrinth in Silent Hill 2 Remake does not end its story, so like James, you need to keep going forward until the conclusion of this haunting tale.
Source: Trophygamers/YouTube


